Previously, I stumbled upon this technique while experimenting with different focal points after struggling with macro photography challenges. It's like creating an HDR photo but for focus instead of exposure. Today, I'm excited to share what I've learned about focus stacking and how it can revolutionize your macro photography.
This technique has become essential in my workflow, especially after mastering basic fundamentals and understanding how aperture priority mode works with macro subjects.
What is Focus Stacking?
Focus stacking is a technique for taking multiple photos of the same subject, each with a different focus point. The images are then merged using software to create a final image in which the entire subject is in sharp focus. This method is beneficial in macro photography, where depth of field is often limited.
How to Use Focus Stacking
1. Set Up Your Camera
- Mount your camera on a tripod to keep it steady.
- Use manual focus to adjust focus points precisely.
- Switch to manual mode or aperture priority to maintain consistent exposure across all shots.
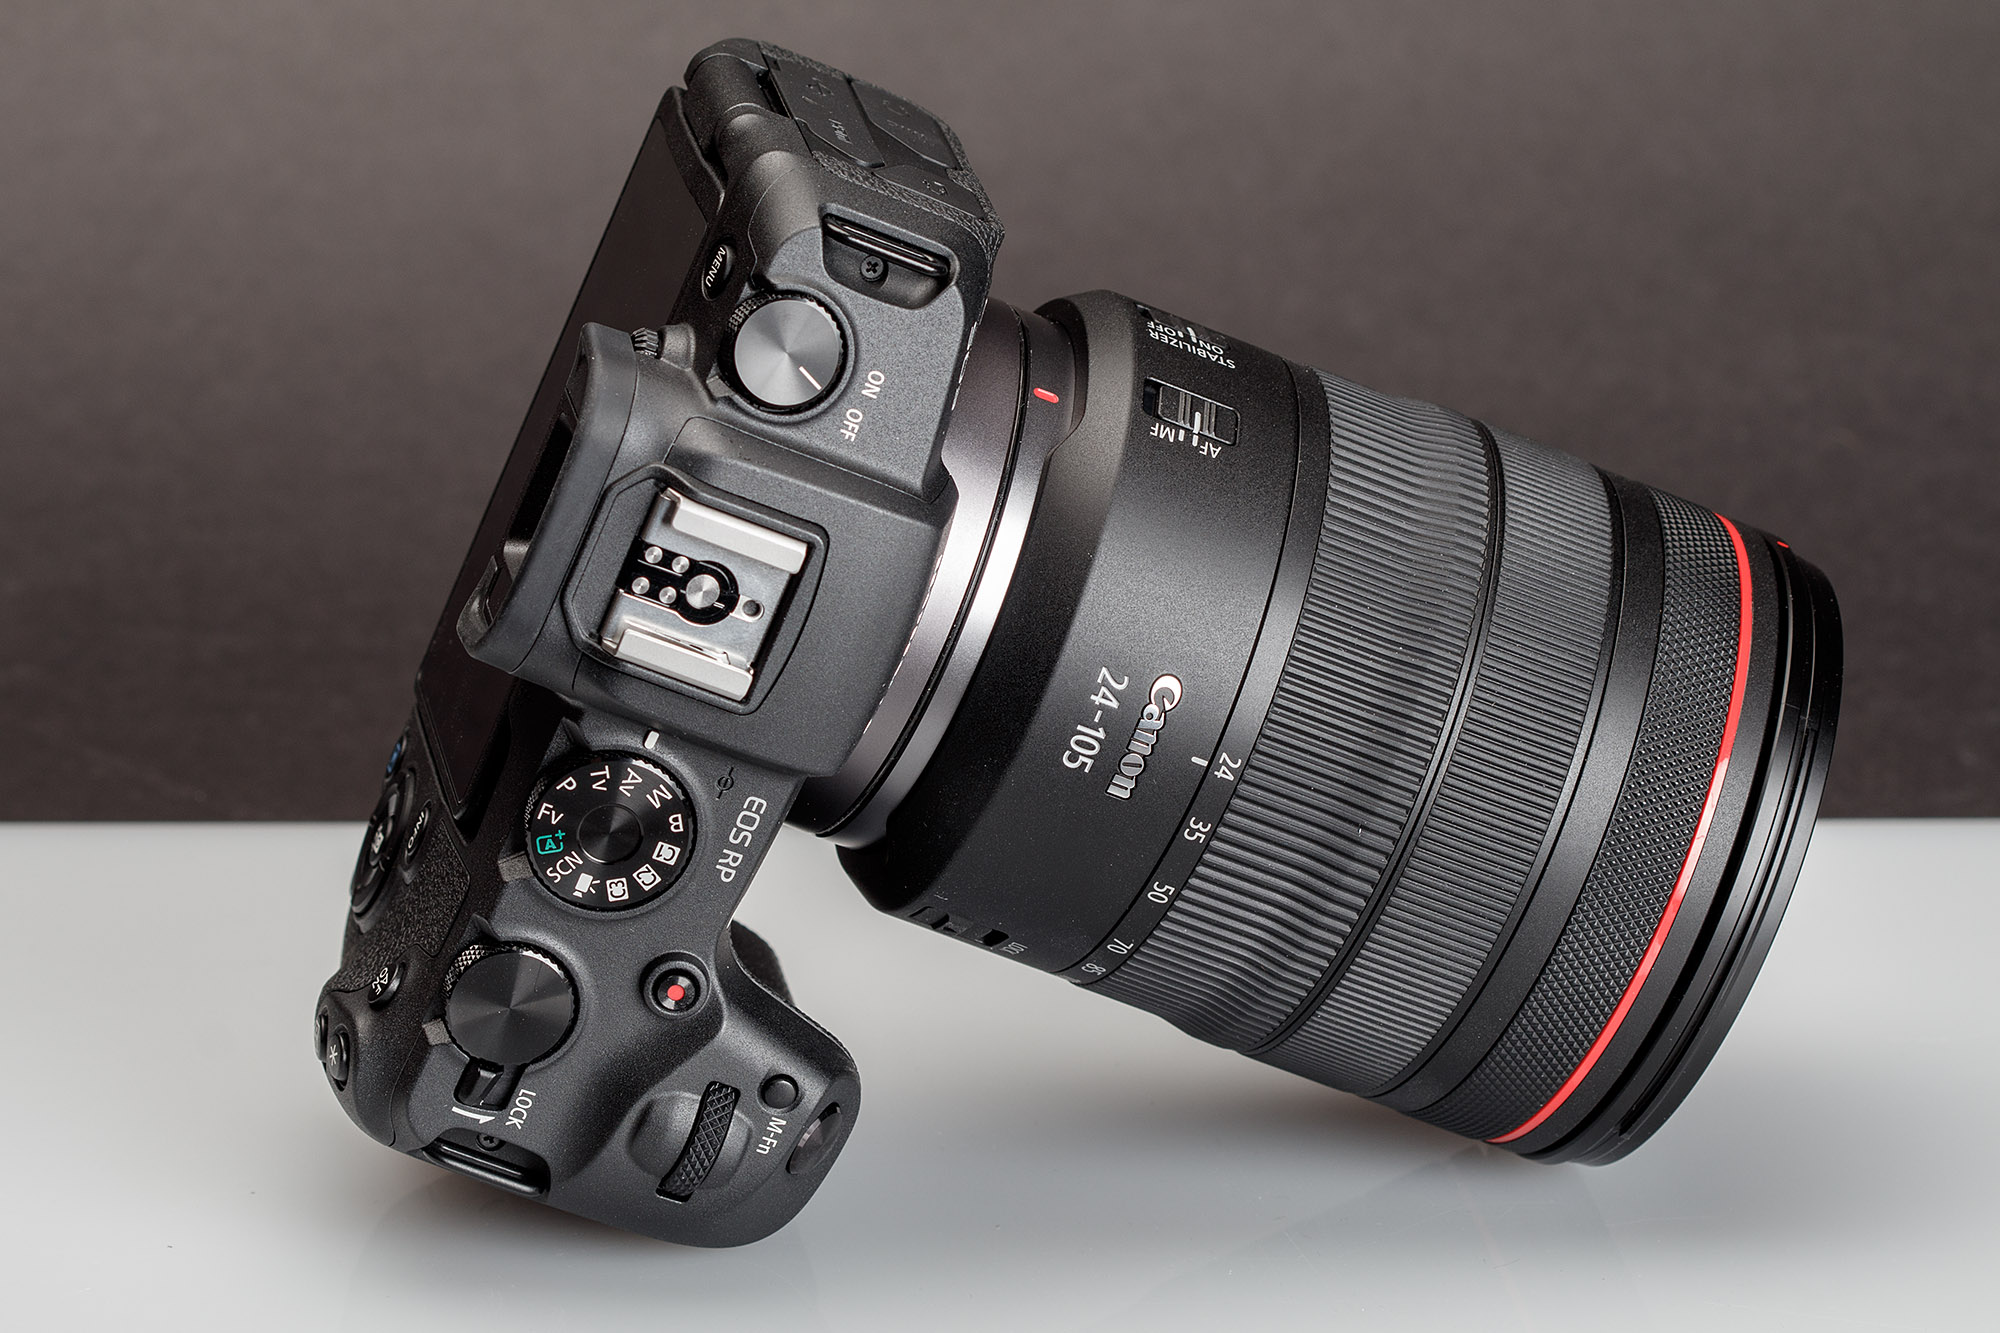
2. My Camera Settings with Canon RP
What works for me:
- Aperture: I typically use f/8 to f/11 with my 50mm lens. Smaller apertures (f/16+) can introduce diffraction, actually reducing sharpness despite increased depth of field.
- ISO: Keep as low as possible (100-400) for maximum image quality.
- Shutter speed: Use whatever maintains proper exposure, but ensure it's fast enough to avoid camera shake.
- Image stabilization: Turn it OFF when using a tripod - it can actually introduce micro-vibrations.
3. Capture a Series of Images
- Focus Point: Start with the closest part of the subject in focus.
- Focus Increment: This is where experience matters. With my Canon RP's focus ring, I make tiny adjustments - about 1/8 turn for close subjects. The closer you are, the smaller the adjustments need to be.
- Number of Images: For a typical flower at 1:1 magnification, I capture 15-25 images. Better to have too many than miss a crucial focus point.
- Overlap: Ensure 30-50% overlap between focus points for smooth blending.
4. Merge the Images
Software options I've tried:
- Adobe Photoshop: Built-in focus stacking works well for simple subjects
- Helicon Focus: Professional software with better control over complex stacks
- Zerene Stacker: Popular choice for serious macro photographers
My workflow:
- Import all images maintaining their sequence
- Let the software auto-align (usually works well)
- Fine-tune any problem areas manually
- Export the final result
Critical Success Factors
Stability is Everything
Using a tripod is essential for focus stacking. Even a slight camera shake will cause misalignments between your images, making the stacking process difficult or impossible. I use my camera's 2-second timer and mirror lock-up (when available) to eliminate all vibration.
Working with Live Subjects
Photographing live subjects for focus stacking can be challenging. Any movement by the subject between shots can lead to blurry or distorted results.
My strategies:
- Work early morning when insects are less active
- Use continuous lighting rather than flash to avoid startling subjects
- Have patience - sometimes waiting 10 minutes for the right moment is worth it
Lighting Consistency
Consistent lighting is crucial for focus stacking. Changes in lighting between shots can create unevenness in the final image.
What I've learned:
- Avoid shooting during rapidly changing light conditions
- Use a diffuser or reflector for consistent illumination
- If outdoors, wait for stable cloud cover rather than fighting direct sun
When Focus Stacking Shines
This technique transforms subjects that would otherwise be impossible to capture with full sharpness. It's particularly valuable when you want that ultra-shallow depth of field effect but also need technical sharpness throughout your subject.