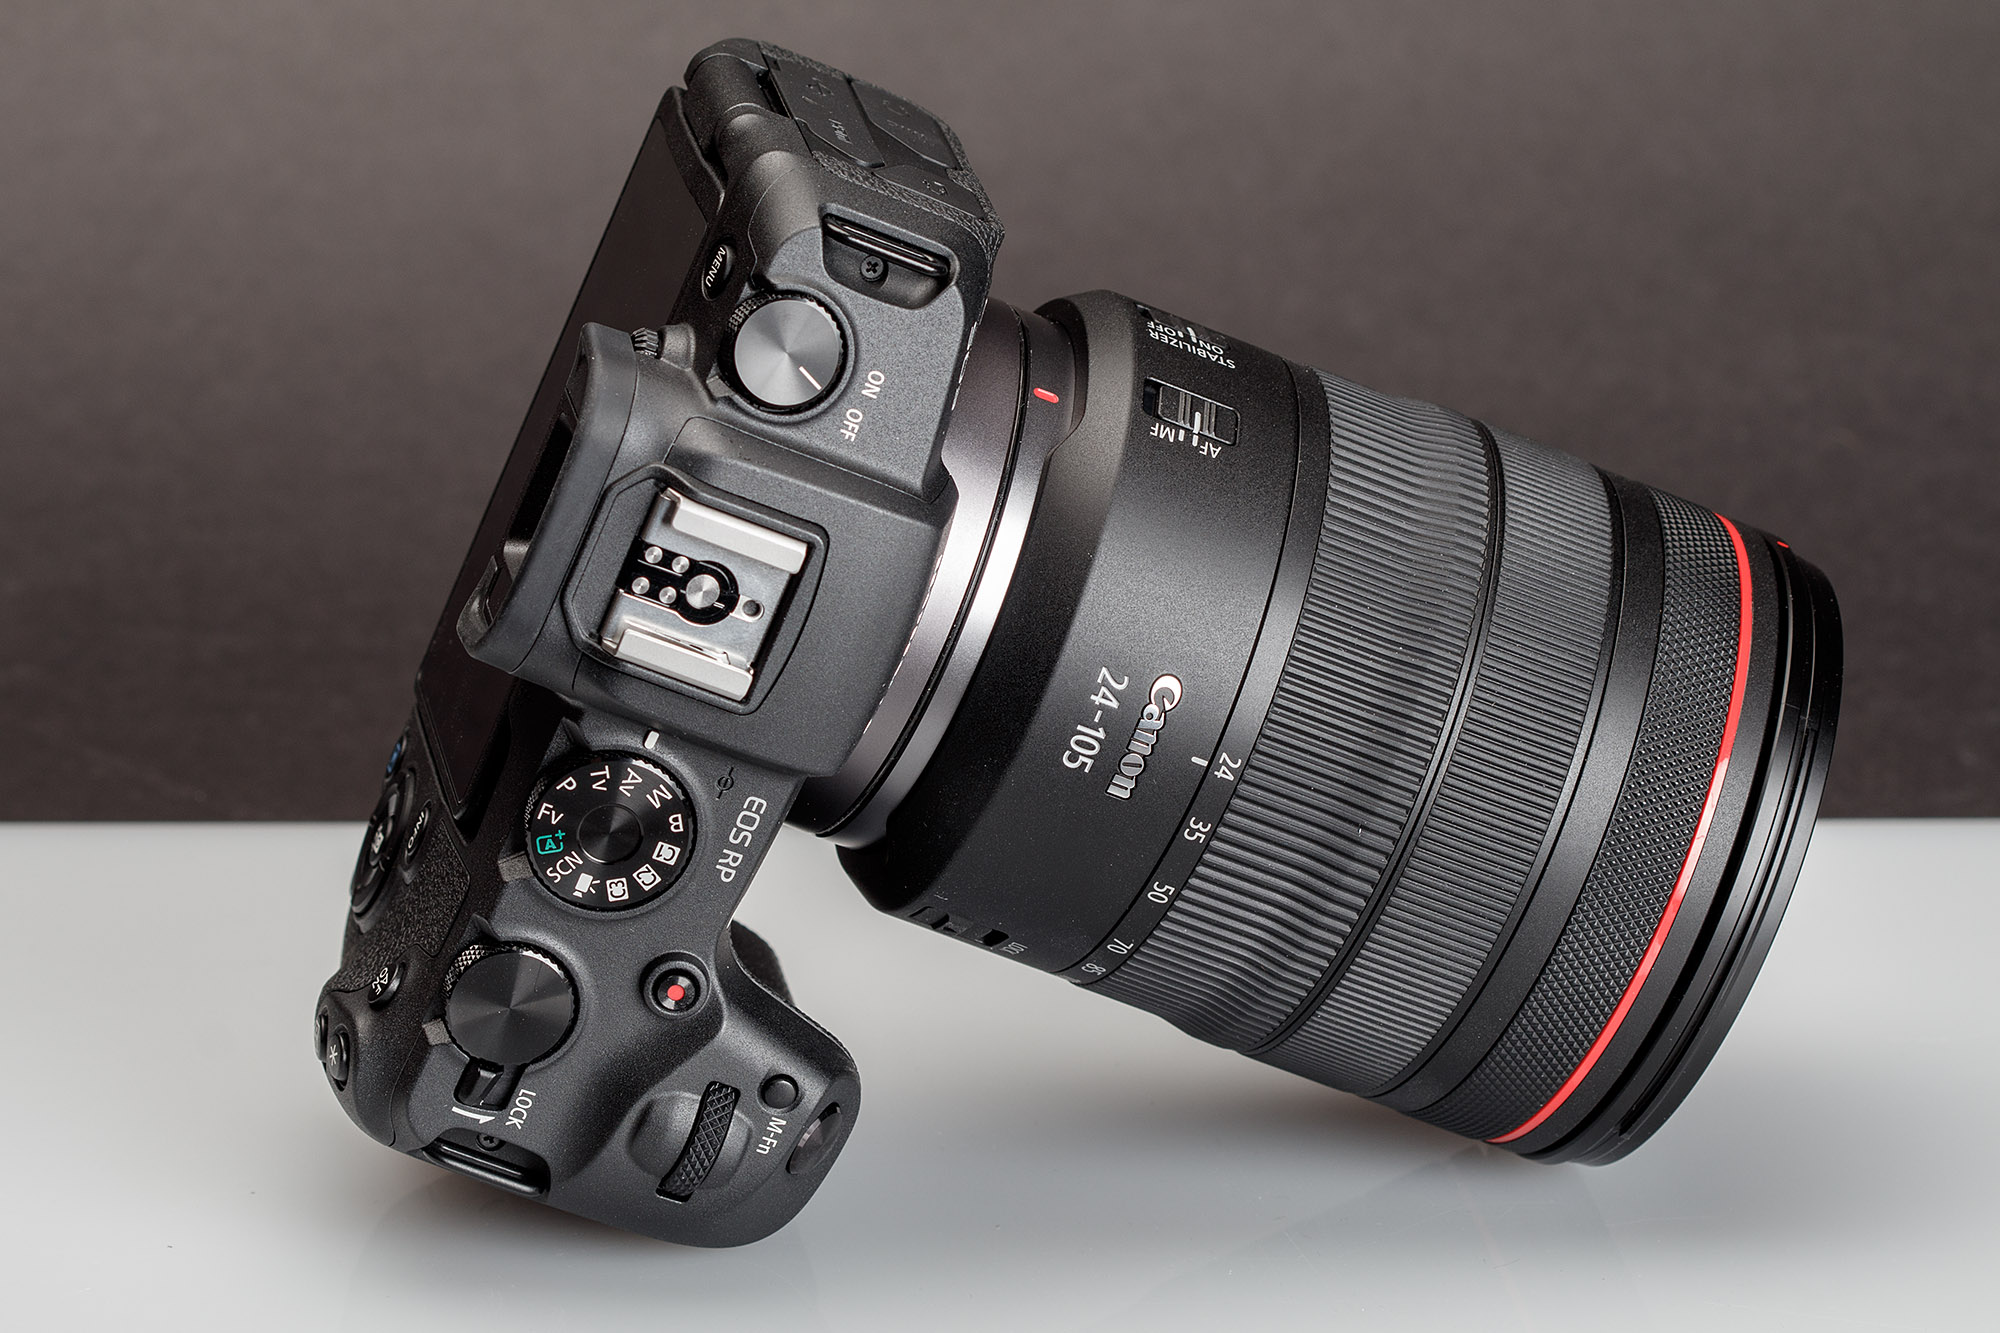
All the time, from the beginning I saw that a lot of people use only two modes: Full Auto mode, just to take a picture with a specific position and that's all. I'm not a professional photographer. On the other hand, I saw hardcore manual mode, which managed all staff in one piece ("The One Piece Is Real"). Sometimes, probably, I'll do it by myself, but not right now. Today, I'm focusing on something that gives me a bit more control without being overwhelmed: Aperture Priority mode.
As someone documenting my year-long photography journey, I've spent months experimenting with this mode using my Canon RP setup, and here's what I've discovered through hands-on experience.
Pros/Cons
Aperture priority gives you an opportunity to set manually only one setting (aperture). All other settings the camera set automatically (if you set your ISO to auto mode).
Pros:
- Set only one setting, except manual mode. Other settings just follow your choice of aperture.
- It's a faster solution than manual mode.
- Perfect for changing light conditions - the camera adapts the shutter speed automatically
- Maintains consistent depth of field across a photo series
Cons:
- Sometimes you need absolutely the same setup for a series of photo
- Astrophotography, in my opinion, is impossible with aperture priority mode
- Can struggle in extreme lighting situations (very bright or very dark)
- Requires understanding of the exposure triangle basics (covered in my fundamentals guide)
Let's break it down:
-
Portraits: Use a wide aperture (low f-number) to isolate your subject from the background, creating a beautiful bokeh effect.
- My go-to settings: f/1.8-f/2.8 with my 35mm lens
- Pro tip: Watch your shutter speed - keep it above 1/focal length rule
-
Landscapes: Opt for a narrower aperture (high f-number) to ensure maximum foreground and background sharpness.
- Sweet spot: f/8-f/11 for maximum lens sharpness
- Avoid f/16+ due to diffraction (learned this the hard way!)
-
Low Light: Combine aperture priority with a higher ISO setting to capture images in dimly lit conditions.
- Set ISO auto with max limit (I use 3200 on Canon RP)
- Use exposure compensation (+/-) to fine-tune results
Real-World Experience from My Setup
Using my Canon RP with 35mm f/1.8, 70-200mm f/4, and 17-40mm f/4 lenses, here are practical scenarios where aperture priority shines:
Street Photography
- Set f/4-f/5.6 for good depth of field
- Let the camera handle changing light as you move
- Focus on composition, not technical settings
Indoor Events
- Open aperture wide (f/1.8-f/2.8) for more light
- Monitor shutter speed to avoid camera shake
- Use exposure compensation if backgrounds are too bright/dark
Common Mistakes I've Made
- Ignoring shutter speed: Camera chose 1/20s for handheld - resulted in blur
- Forgetting exposure compensation: Backlit subjects came out too dark
- Using f/1.4 in bright daylight: Had to crank ISO to minimum and still overexposed
When to Switch to Manual Mode
Based on my experience, manual mode is better for:
- Astrophotography (need specific 20-30 second exposures)
- Studio work with consistent lighting
- Long exposure creative shots
- Focus stacking in macro work
Want to dive deeper? Check out my complete breakdown of photography fundamentals where I explain how aperture, shutter speed, and ISO work together.
Final Thoughts
Aperture priority has become my daily driver mode. It gives me creative control over depth of field while handling the technical stuff automatically. Perfect for someone on a journey from hobbyist to more skilled photographer!