Today, my main goal is to refresh my knowledge about the exposure triangle. But first, we start with a joke: "Why did the photographer get kicked out of the restaurant? Because he kept asking for 'ISO' instead of 'Iced tea,' 'Shutter speed' instead of 'Check, please,' and 'Aperture' instead of 'Appetizer!' Turns out, he was really focused on the Exposure Triangle instead of the menu!"
As someone documenting my photography journey from hobbyist to more skilled photographer, understanding these fundamentals has been crucial for moving beyond auto mode.
Triangle
Now, let’s dive into the serious stuff—but don’t worry, I’m keeping it simple. The exposure triangle might sound complex, but it’s the recipe for a well-cooked photo. Imagine you’re a grill master who grilled a steak. You need the right balance of meat, seasoning, and temperature of your grill to get a perfect result. In photography, those ingredients are aperture, shutter speed, and ISO. Let’s deep dive a little bit:
- Aperture: setting for controlling how much light enters your camera like a door into the saloon. A wide-open door (low f-numbers) lets in more lights (cowboys). This is perfect for portraits or isolating a subject from its surroundings. On the other hand (high f-numbers) let in less light, but keep everything in a photo. This is perfect for detailed photos like a landscape.
- Shutter Speed: This is how long your camera gets the light. Just like you control the cooking time on your grill to achieve the perfect level of doneness, shutter speed determines how long your camera's sensor is exposed to light. A quick sear (fast shutter speed) captures a moment in time, like a perfectly cooked steak. A longer cook time (slow shutter speed) allows for more flavors to develop, like capturing the dreamy look of a flowing river.
- ISO: This is like the sensitivity of your camera sensor. A low ISO needs more light, while a high ISO lets you shoot in the dark. Do you remember our first analogy with grilling steak? Just imagine ISO like a correct, balanced, absolutely the same type of roasting meat. I mean without overcooked places in some places. In photography, we say like “without noise”.
To get a well-exposed photo, you need to find the right balance of all three settings.
Practical Tips from My Experience:
-
Bright Outdoors: Start with ISO 100-400, use a fast shutter speed, and adjust the aperture as needed.
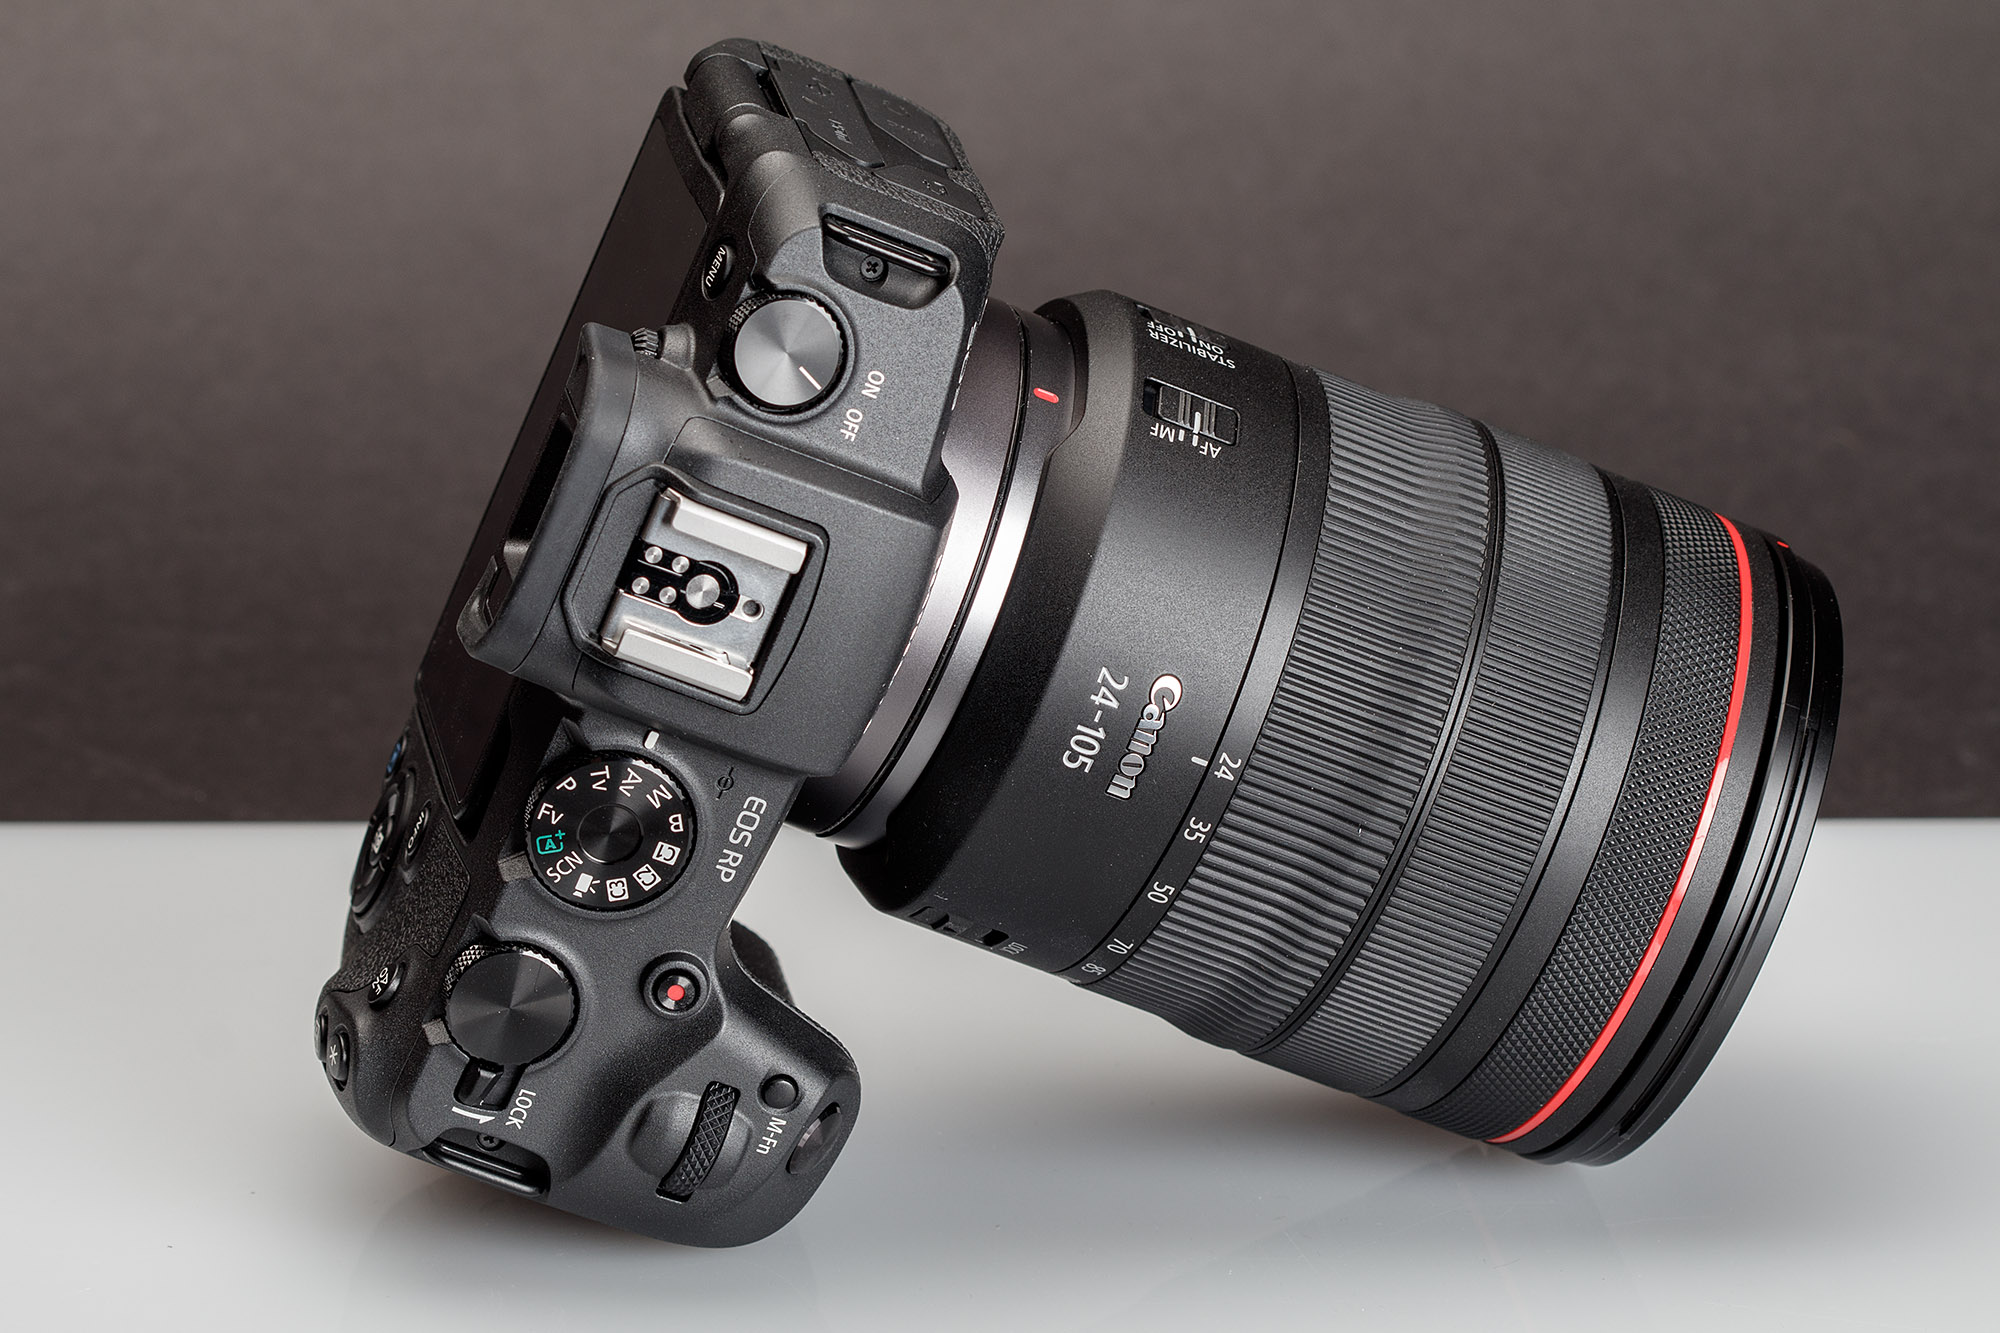
- My setup: Canon RP at ISO 100, f/8 for landscapes, 1/250s+ for sharp images
-
Low Light/Indoors: Bump up the ISO to 800 or more, open the aperture wide, and keep an eye on the shutter speed to avoid blur.
- I've learned to push my Canon RP to ISO 3200 when needed
- Use the 1/focal length rule: 35mm lens = minimum 1/35s shutter speed
-
Creative Effects: Experiment with slow shutter speeds for motion blur or high aperture for landscapes.
- Water motion: 1/2s for texture, 2-5s for smooth flow
- Avoid f/16+ due to diffraction - learned this the hard way!
Common Beginner Mistakes (I Made These Too!)
Mistake 1: Using Auto ISO Without Limits
Problem: Camera picked ISO 6400 in moderate light Solution: Set ISO auto with maximum limit (I use 3200)
Mistake 2: Ignoring the Histogram
Problem: Beautiful LCD screen, but photos were overexposed Solution: Enable histogram display and watch for clipping
Mistake 3: Always Shooting Wide Open
Problem: f/1.8 everywhere resulted in focus issues Solution: Consider depth of field needs - f/4-f/5.6 often better for groups
Building Your Foundation
The exposure triangle isn't just technical knowledge—it's creative freedom. Once you understand how these three work together, you can:
- Prioritize depth of field: Use Aperture Priority mode for consistent results
- Control motion: Freeze action or create artistic blur
- Handle any lighting: From bright daylight to dim restaurants
Next Steps in Your Journey
Start with Aperture Priority mode (A/Av) to practice these concepts. It's the perfect stepping stone between auto and manual mode, letting you control depth of field while the camera handles the technical calculations.
Ready to dive deeper? Check out my detailed guide on Aperture Priority photography where I share real-world settings and common mistakes to avoid.